Launch your podcast with the help of Podzay's powerful tools and community.
Signup on PodzayStarting a video podcast doesn’t have to be expensive. This guide breaks down the budget video podcasting gear you need to launch your show without overspending. Whether you record on a smartphone or a webcam, the setup below will help you create good-looking, good-sounding content with a small investment, and it shows you what to upgrade first when you’re ready.
Video podcasting captures video and audio at the same time, so one recording gives you a full YouTube episode, an audio podcast and dozens of short clips for social media. The best part is that you don’t need a high-end camera or expensive microphone to get started. Read more about the benefits of video podcasting.
A dedicated camera isn’t necessary for a high-quality video podcast. Most smartphones from the last few years record in 4K, which is more than enough for YouTube. The example setup in this guide uses an iPhone 11 Pro mounted on a tripod for stability.
💡 Pro tip: A budget smartphone tripod with a phone clamp keeps your shot steady and at eye level.
If you’d rather record at your desk, a 1080p webcam is a good alternative. It’s less sharp than a modern phone, but it’s simple and can stay plugged in.
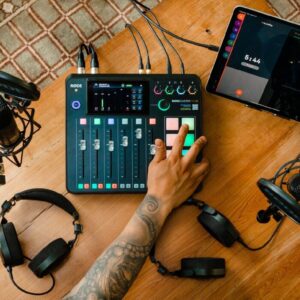
Clear audio is the most important part of any podcast, video or not. A USB microphone is the best option for beginners because it plugs straight into a computer or phone with no extra equipment.
For those willing to invest a bit more:
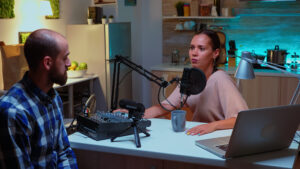
Dynamic microphones like the Q2U pick up less room noise than condenser microphones, which helps a lot in untreated rooms. For in-person shows with two people, give each person their own microphone rather than sharing one.
Good lighting makes even an inexpensive camera look professional. Natural light works well, but an affordable lighting kit gives you consistent results at any time of day.
If you’re just starting out, sit facing a window for soft natural light. Avoid sitting with a window behind you, which turns you into a silhouette.
When you’re ready to go further, our guide to the best podcast equipment covers mid-range and professional gear.
Once your video is recorded, you’ll need software to edit both video and audio.
These tools let you cut mistakes, add your intro and export files for YouTube, Apple Podcasts and Spotify. Export the audio separately for your podcast host and the full video for YouTube.
Use the smartphone you already own, a tripod, a USB microphone that costs around $35 and natural window light. That setup costs well under $100 and is enough for your first episodes.
A better microphone. Viewers will watch average-looking video, but they quickly leave if the audio is hard to listen to.
Yes. Use a recording tool that captures each guest locally, and ask guests to wear headphones. Our remote recording guide explains how.
Starting a video podcast doesn’t have to be complicated. This setup (an iPhone 11 Pro, a $35 microphone and budget lighting) proves that high-quality content is within reach for everyone.
The key to success? Just press record. Don’t let equipment worries stop you from launching your podcast today.
For more podcasting tips and gear recommendations, check out more guides on the Podzay blog.
Connect with fellow podcasters, share your content, and grow your audience with Podzay's comprehensive podcast platform.
Sign Up Now